Dining table

I made a dinner table with my wife!
Design
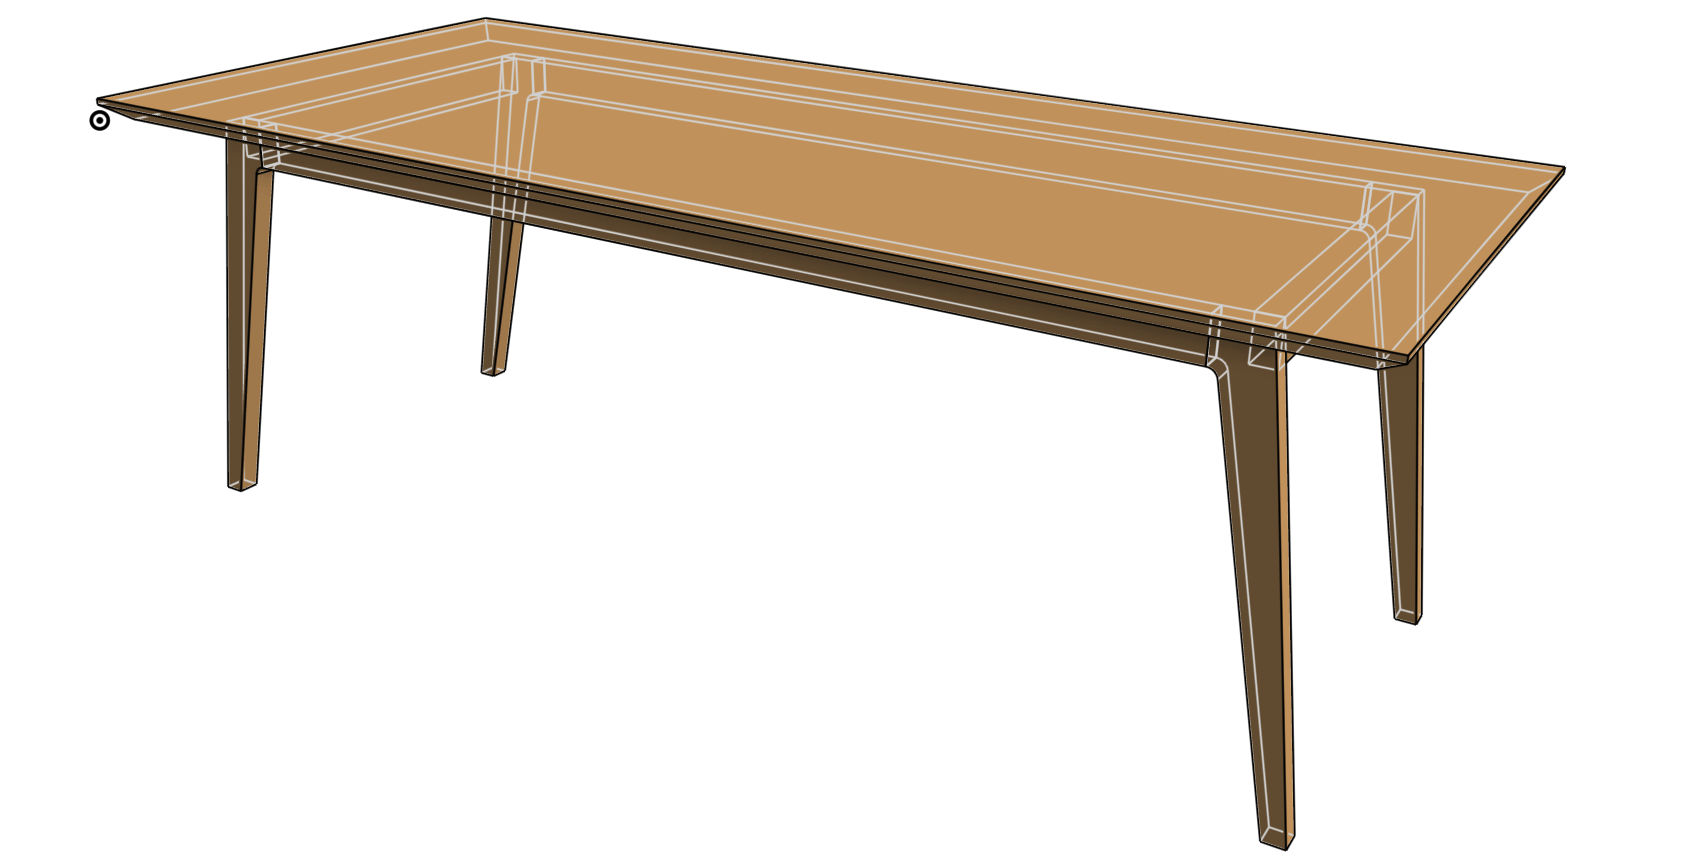
I started with a parametric design in Onshape, you can find it here.
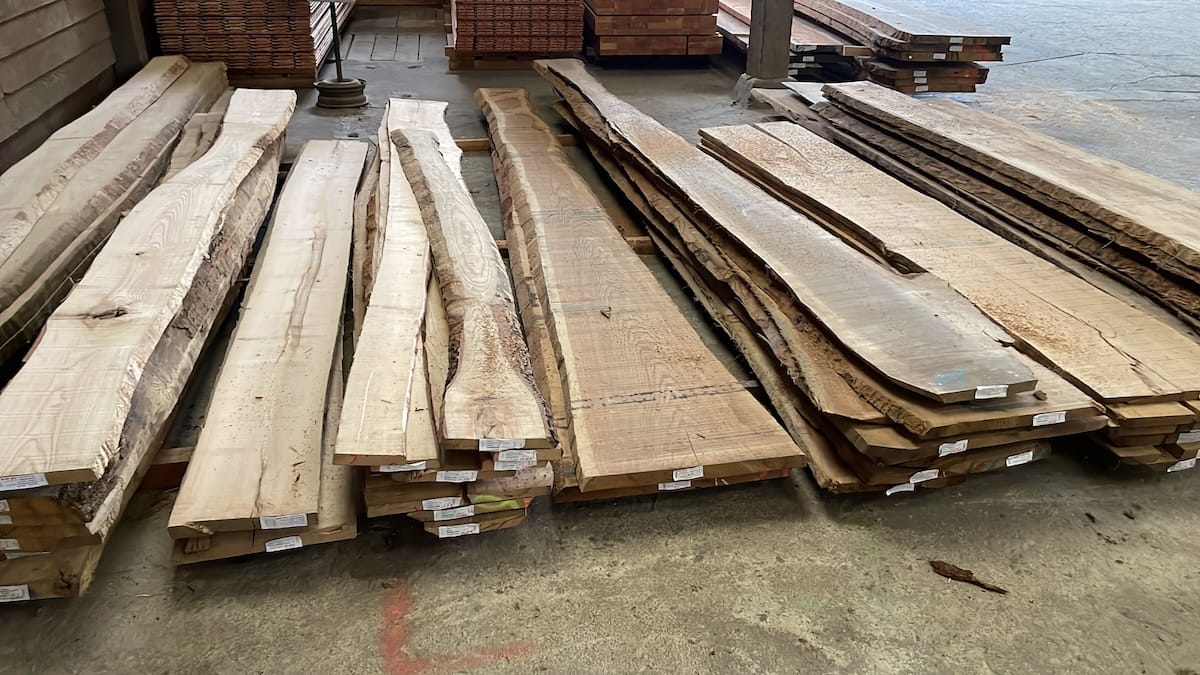
I found some nice ash hardwood not too far from my place, at Scierie Rétif.
Cutting and planing
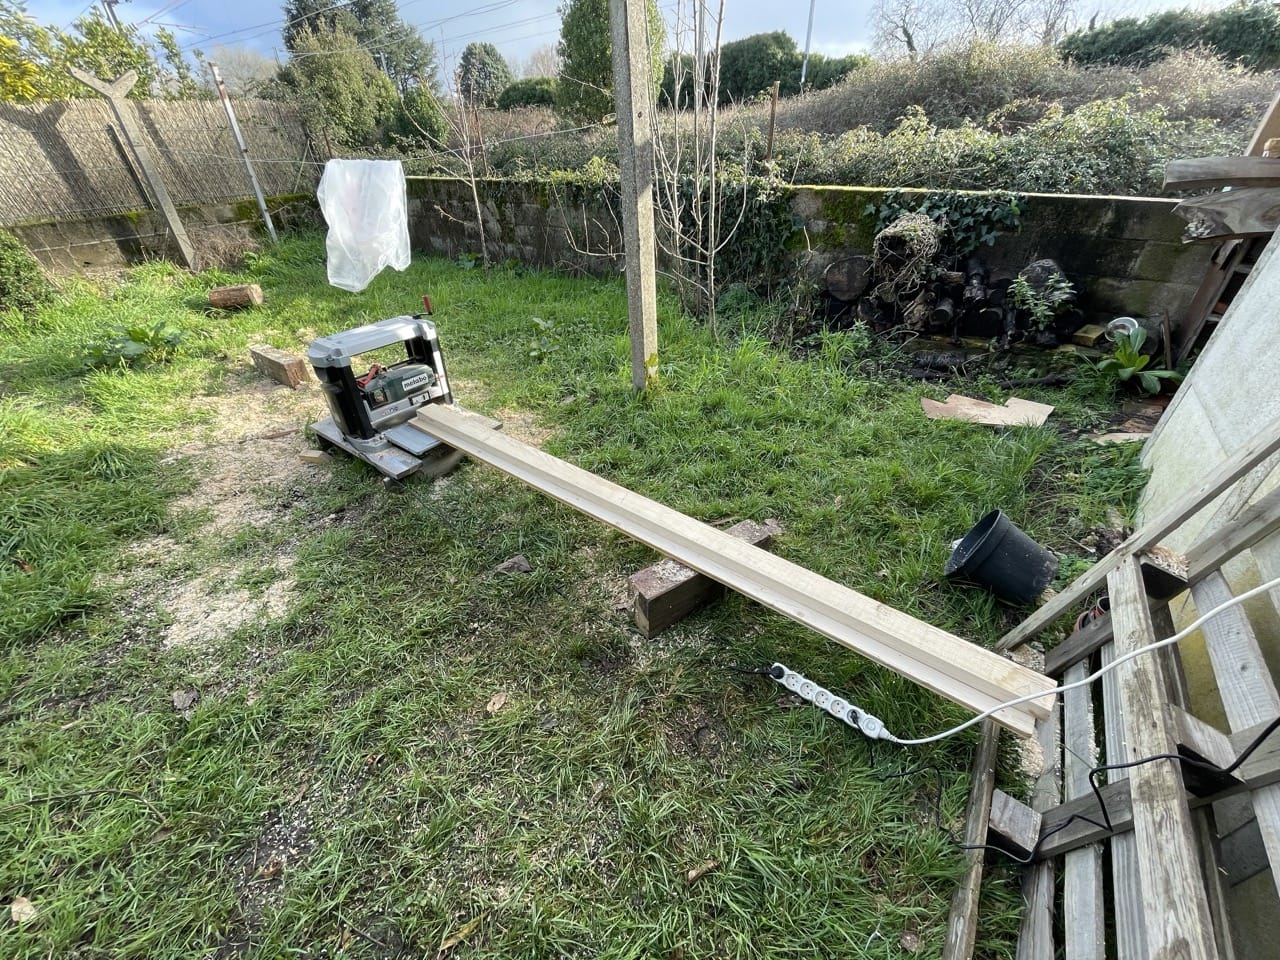
The first step is to do a rough cut of the wood into planks, and then to plane them.

We don't have a jointer but we do have a planer so we used the following method to get a straight edge:
- get a straight board to have a flat surface
- use hot glue to secure your board to the reference board
- plane both boards together
- since the bottom board is flat, your board's top surface will be planed parallel to it
- detach the board, flip it around and plane it normally
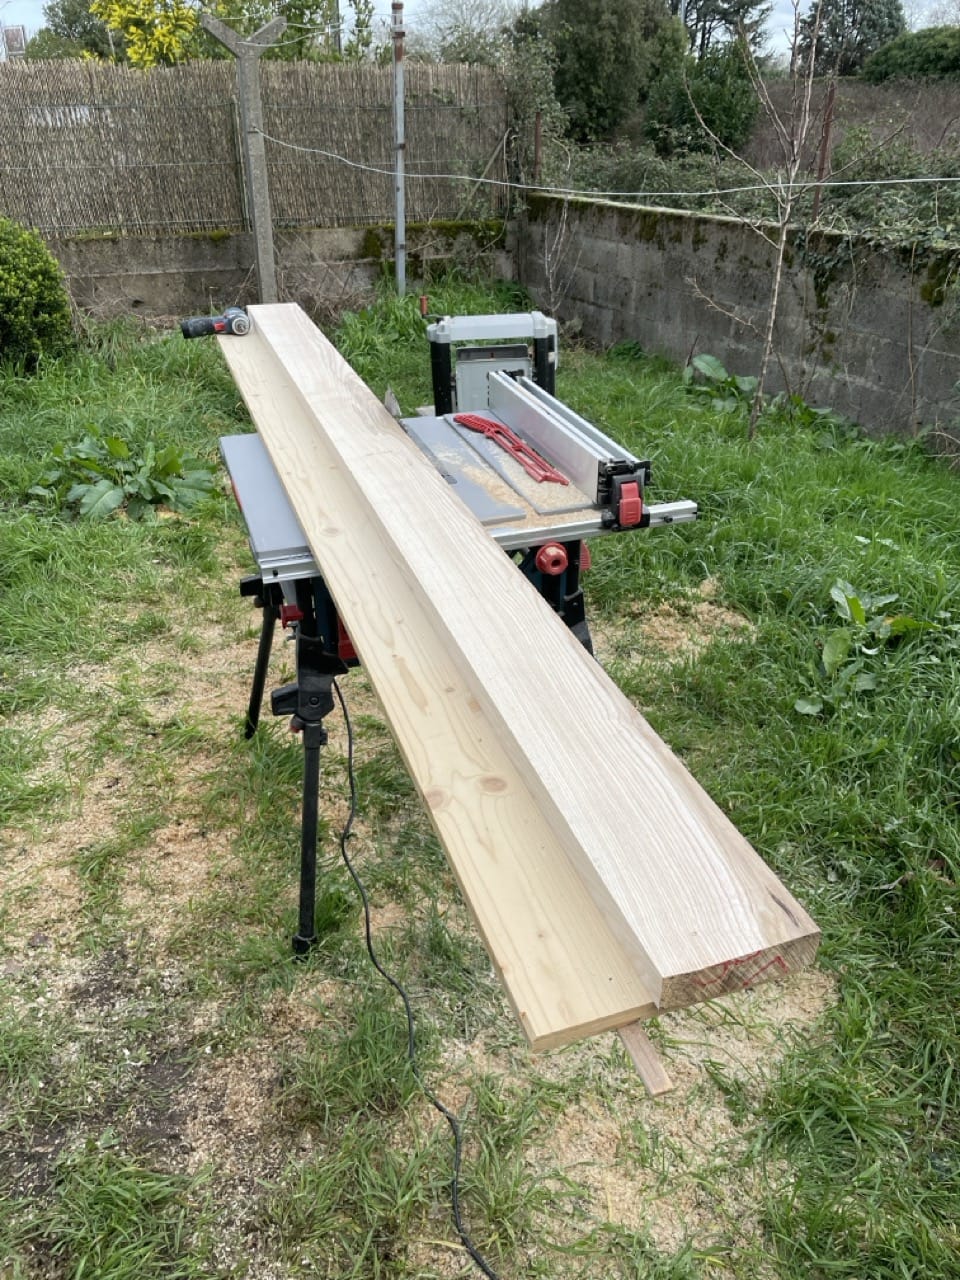
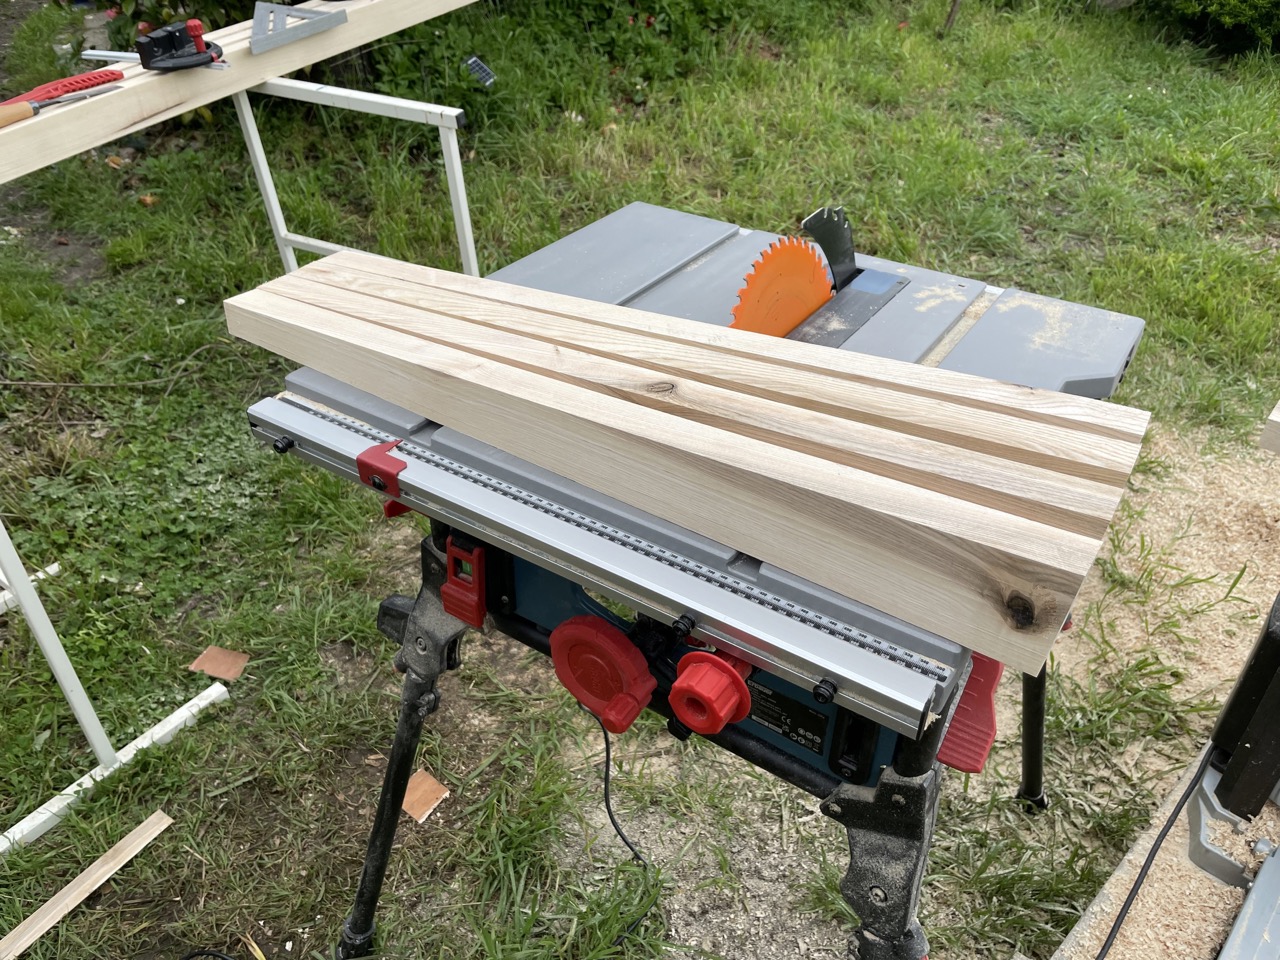
The next problem is joining the boards together. Without the jointer, it's not easy to get a square edge. The track saw is not precise enough to have a good 90° angle. So we finally bought a table saw!

The table saw allowed us to create a straight edge for our boards. Since the saw blade is reasonably square, recutting the boards with a simple jig (a board that we can slide in the table's track) gives us a pretty good edge.
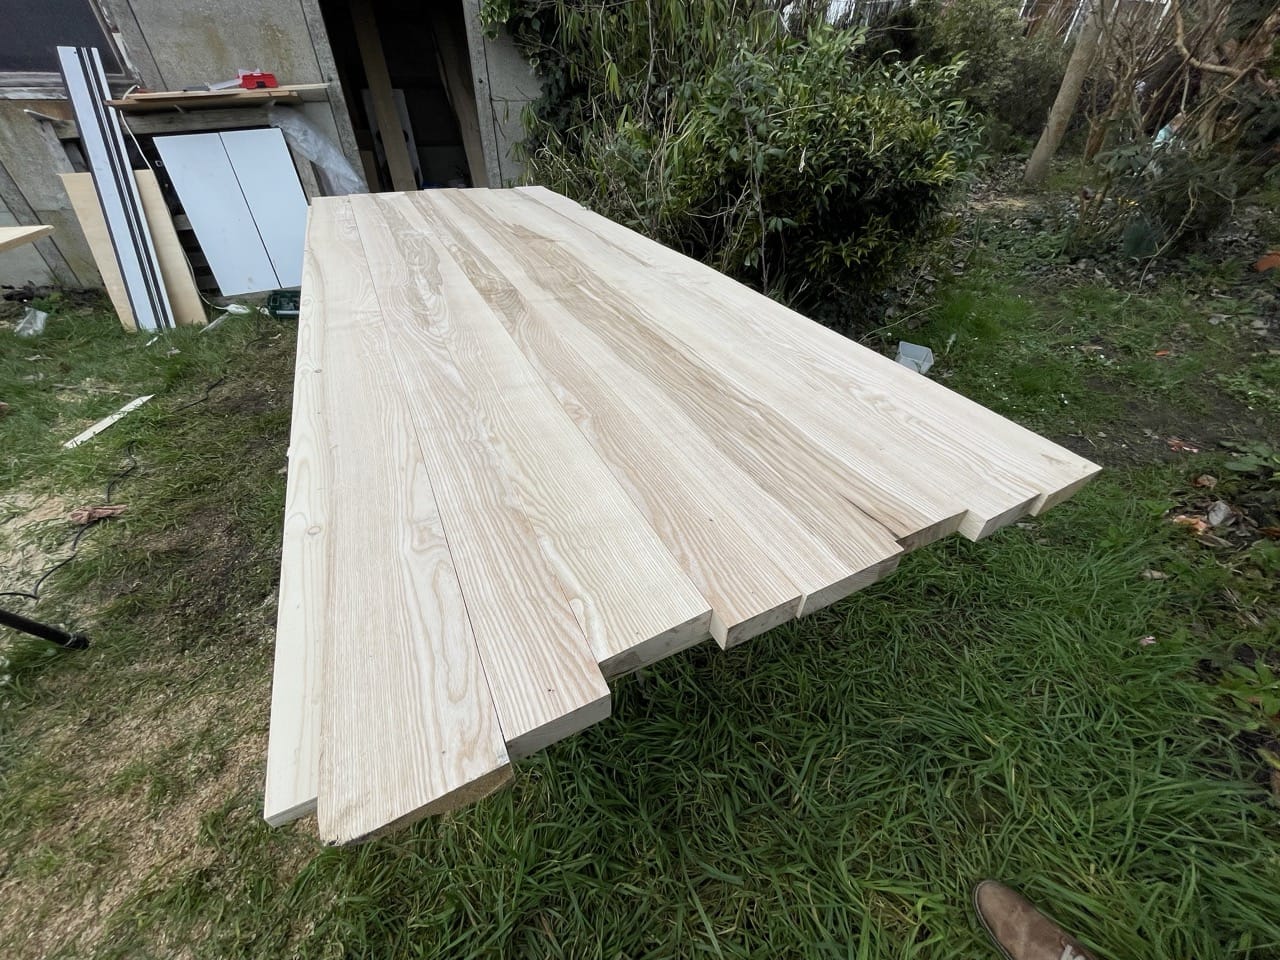
After this is done on all boards, we could try to get a good looking table by arranging them while respecting the heart to heart / back to back principle:
Dominos
The next week, we start the work to glue the tabletop together. We used our Domino to align the boards. I discovered that it's not so easy to join the boards perfectly flat, even though the Domino is supposed to do the heavy lifting by itself! Doing a few dozen holes in a row, I made some mistakes with holes that were off by 0.1 to 0.5 mm which is definitely noticeable once the boards are joined. Nothing that can't be fixed by a copious amount of sanding though.
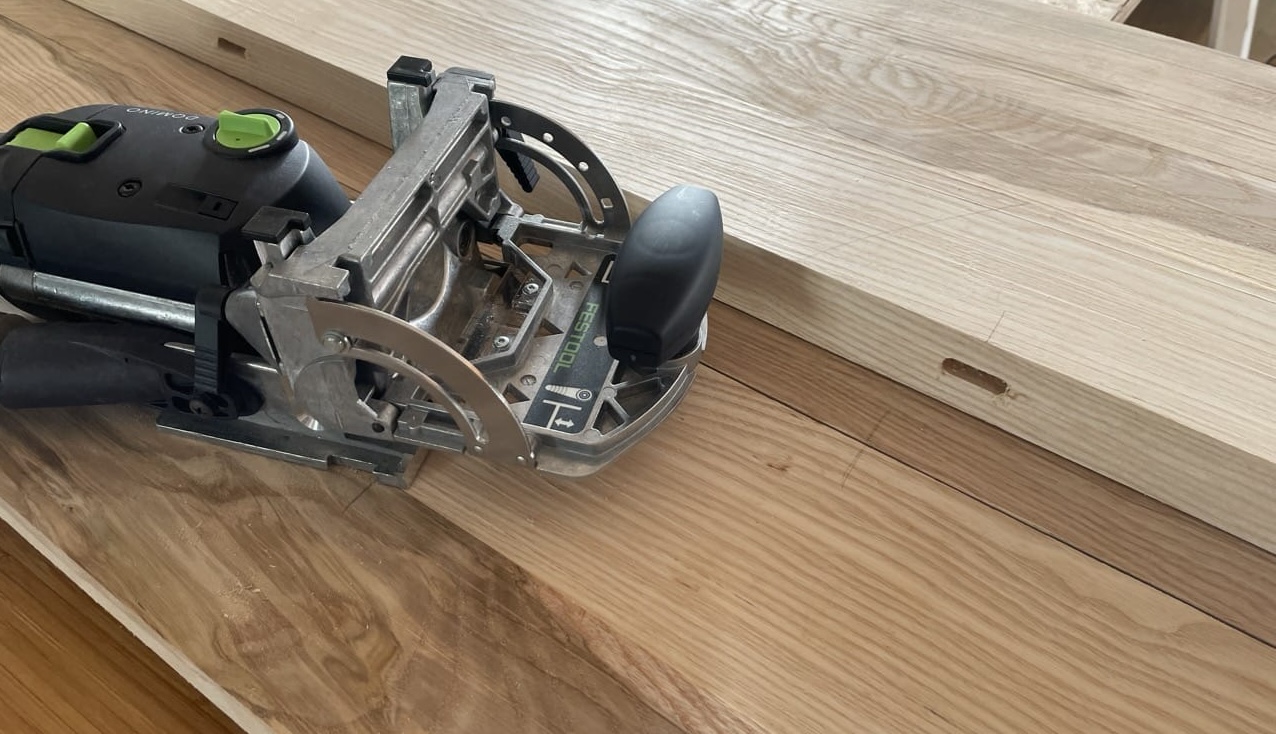
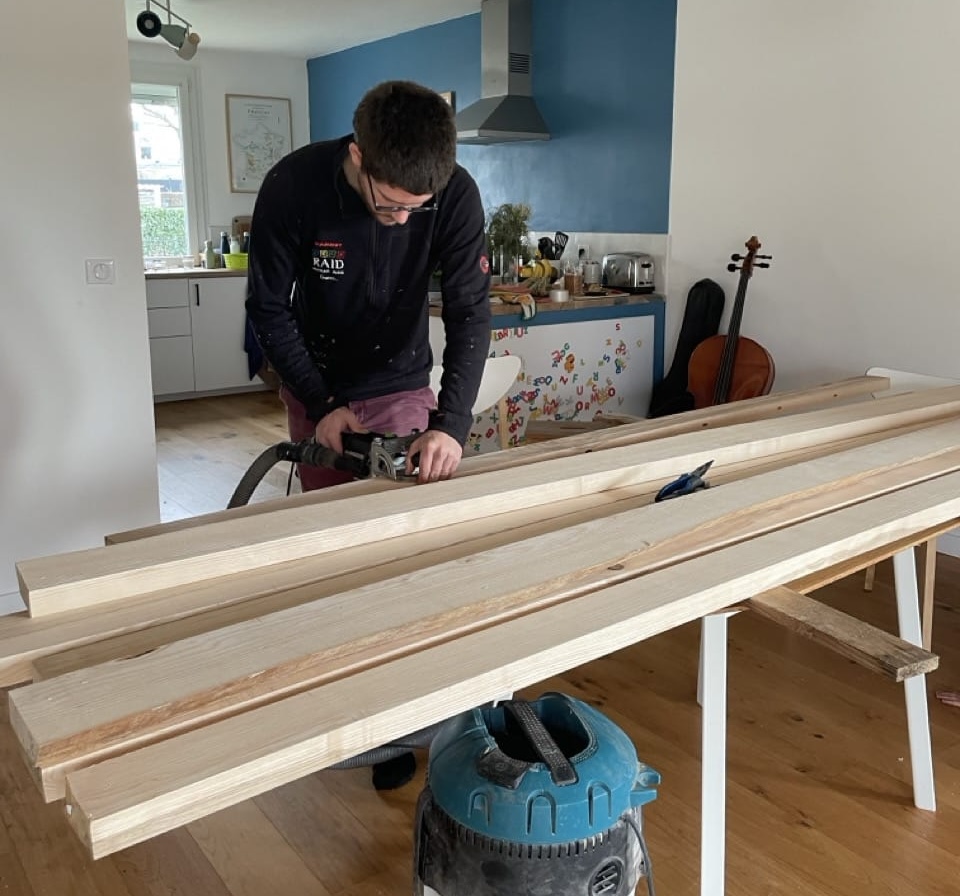
We had to move to our living room for this step because our small garden shed is way too small to work with this size of boards.
Glue up
Then comes the stressful part: glueing everything together. Of course since we don't have nor the amount of clamps nor the size required for a build like this, we had to do it step by step.
First, we glued 2 groups of 3 boards together. They fit into the clamps we had so that part wasn't too hard.
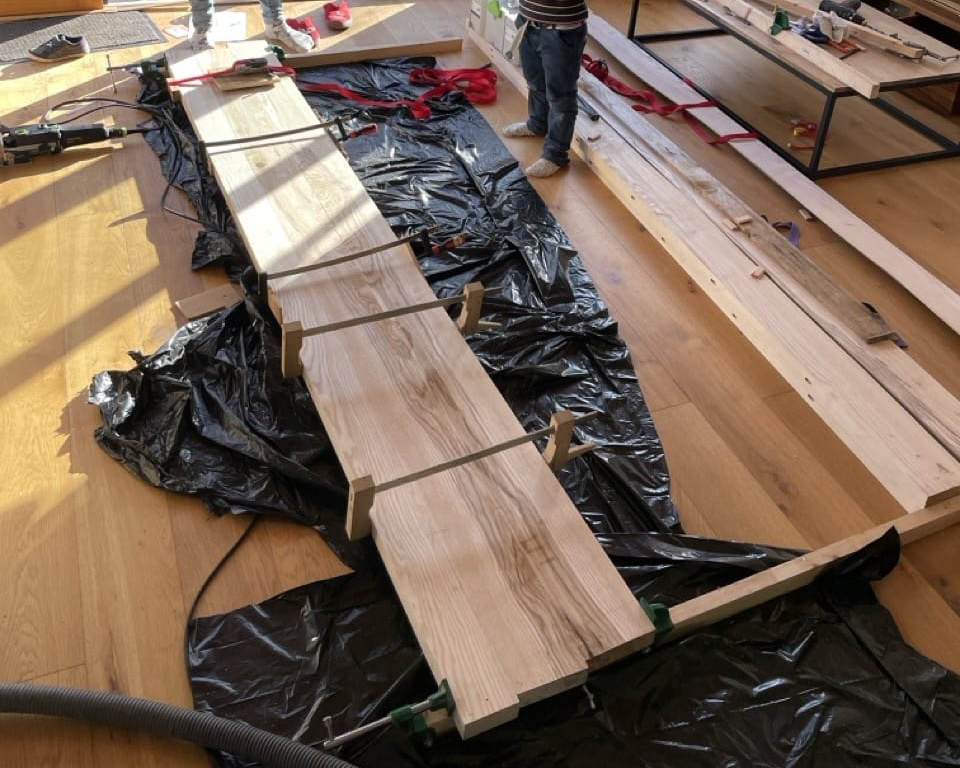
Then we glued these two parts together into a wider board. We could still fit it into some bigger clamps that I had, plus we used some ratchet clamps that were pretty good to tighten things up.
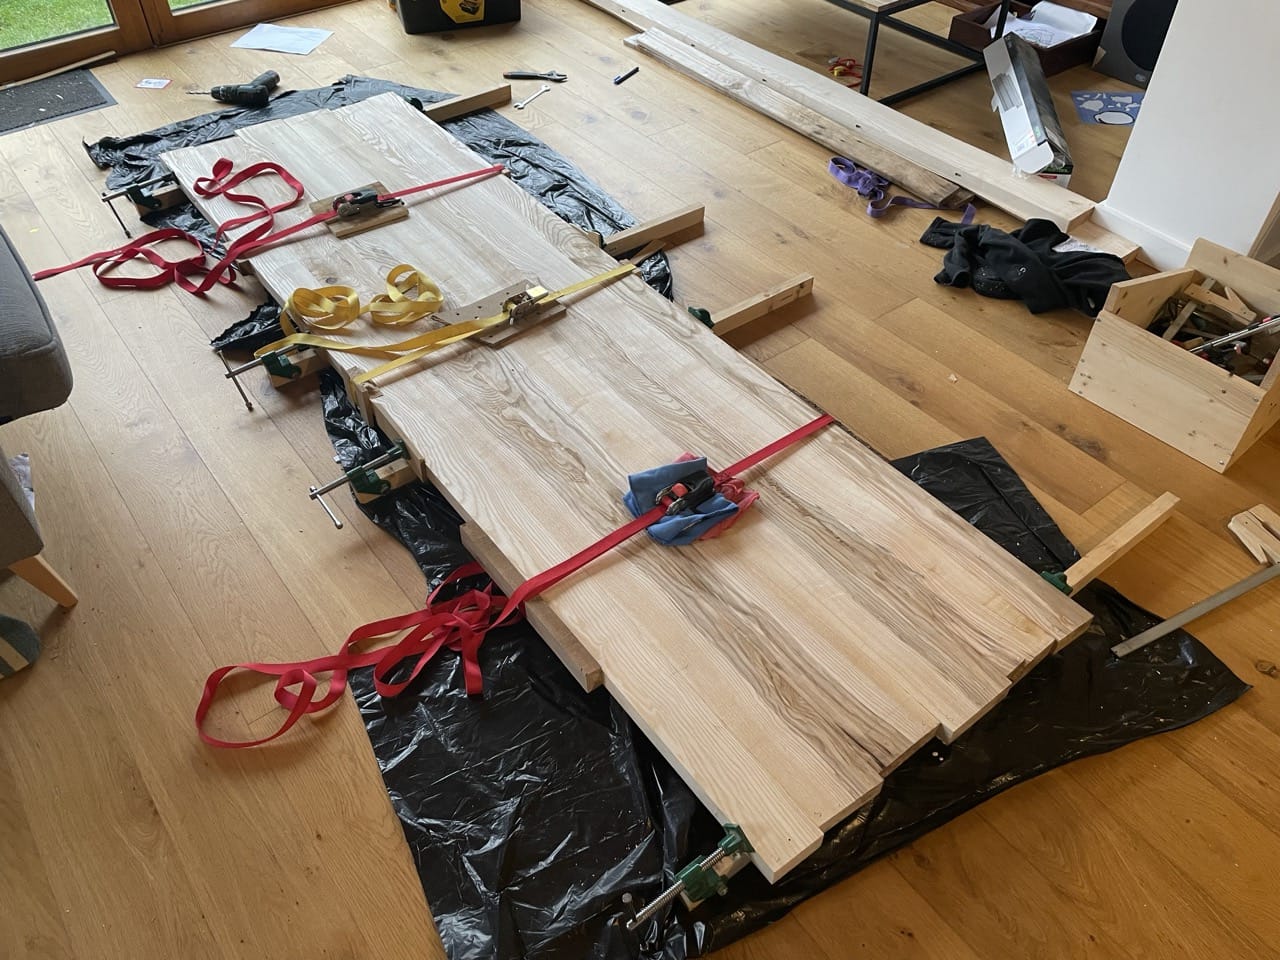
It wasn't so easy for the final two boards that still had the live edges though... We could only use two clamps on both ends were I cut small notches, but for the others we only had the straps.
We had a few spots where it was still not good enough and there are some gaps. We'll try to fill them with some glue and sawdust.
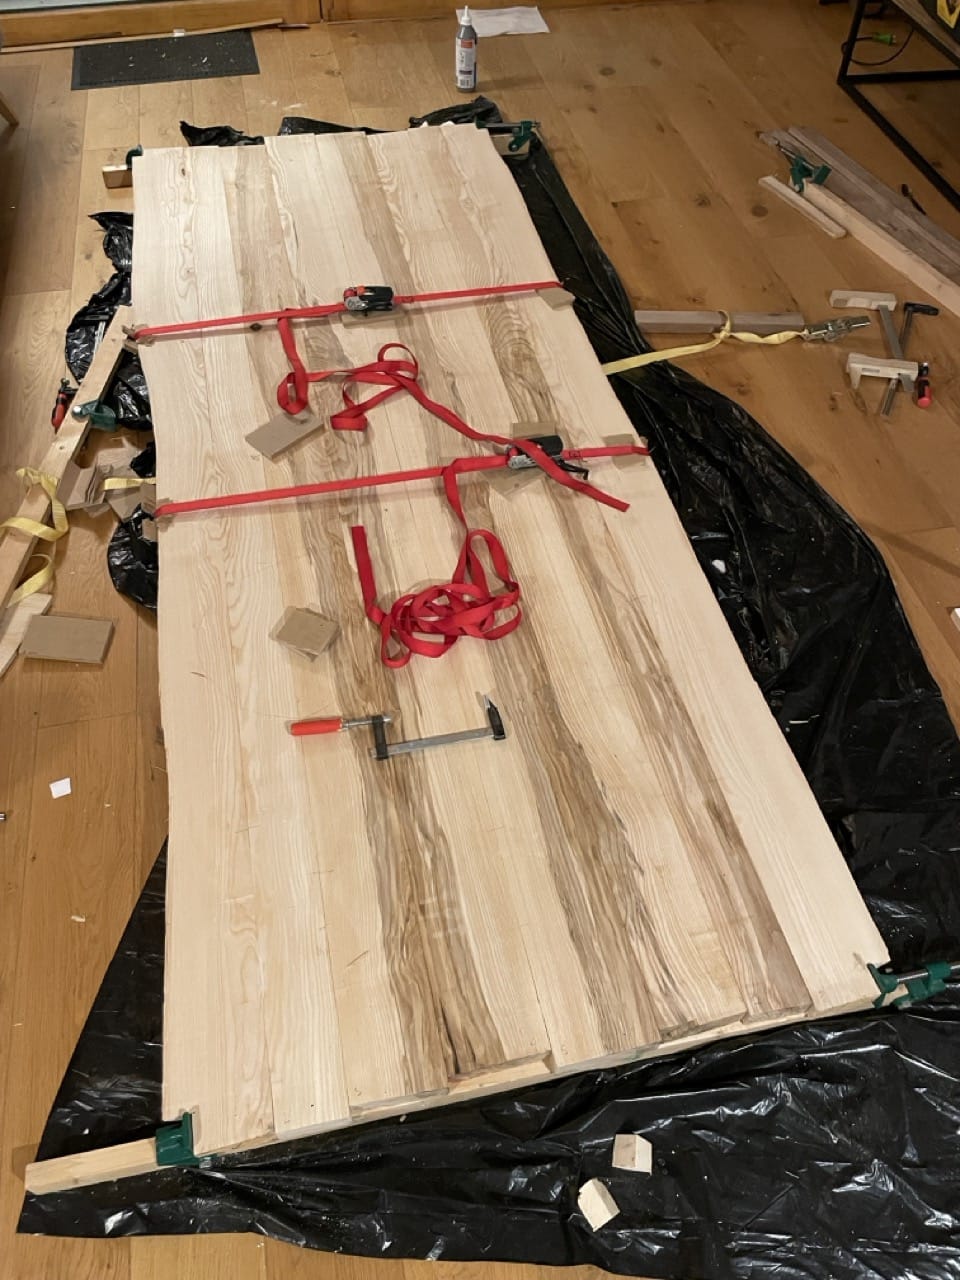
I actually broke one of the ratchet straps by tightening it too much... Which of course didn't help since we then only had two straps left.
Buildings the legs
We repeat the same process to prepare the boards for the legs. Unfortunately this time we didn't manage to get straight boards with this method, as the planer is too small for the length we have here (we don't use the full length so it's not as bad as it appears here in the end).
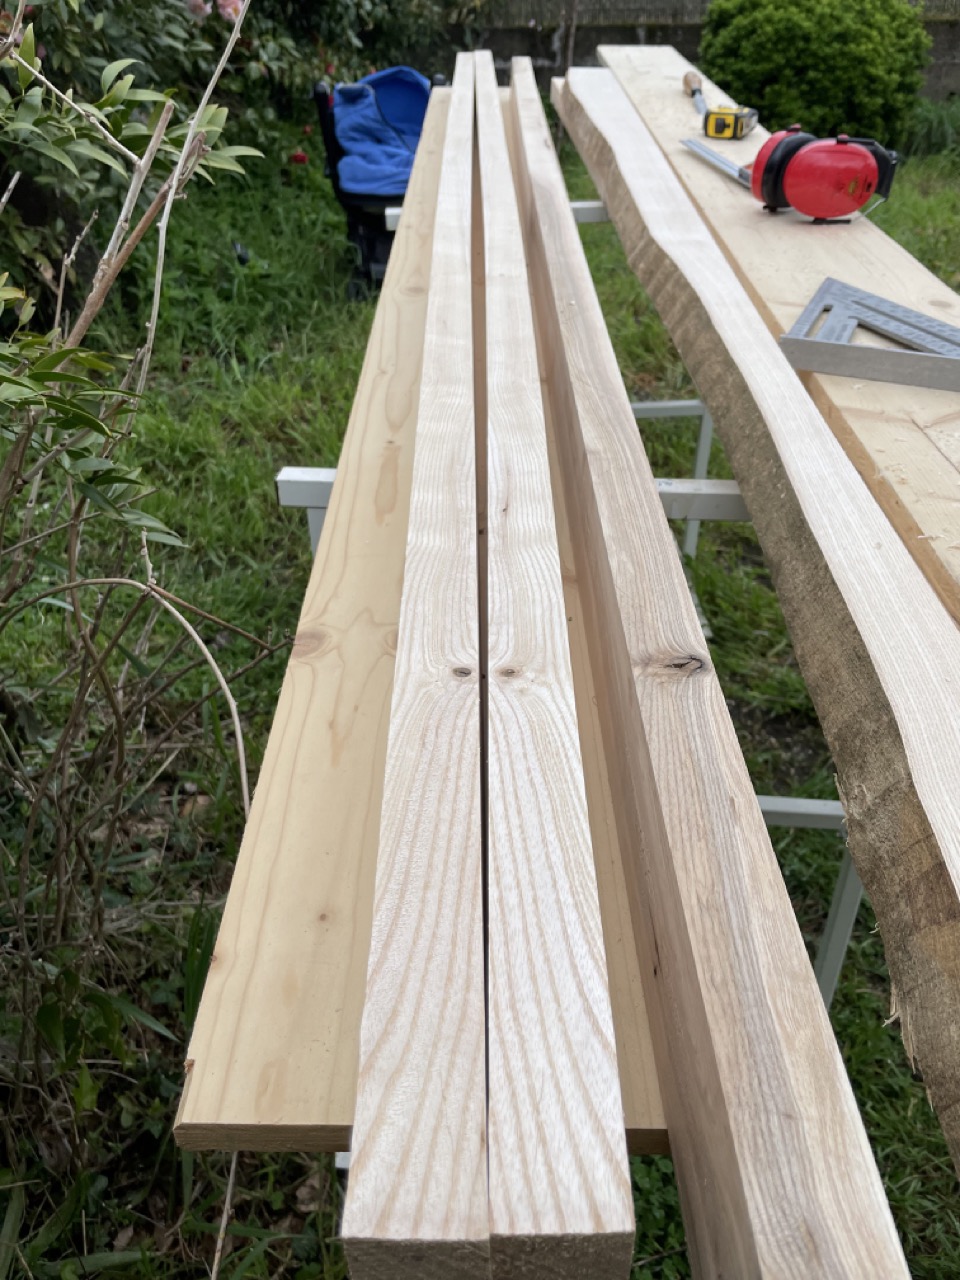
We made a little jig for the tapered legs to be able to repeat the angle consistently.
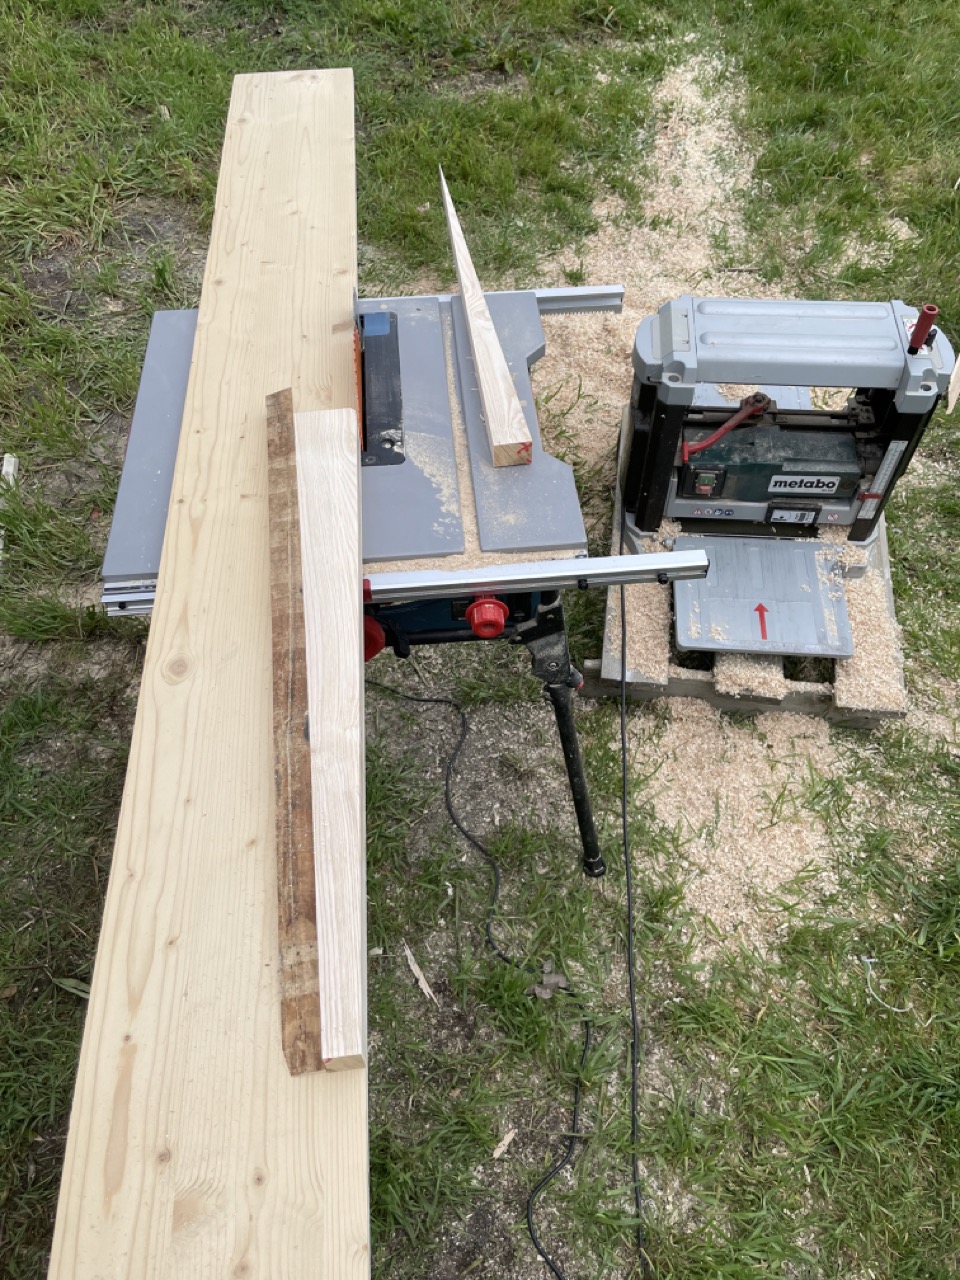
Here too the crooked wood didn't help getting perfectly sized legs, but nothing a bit of sanding can't fix!
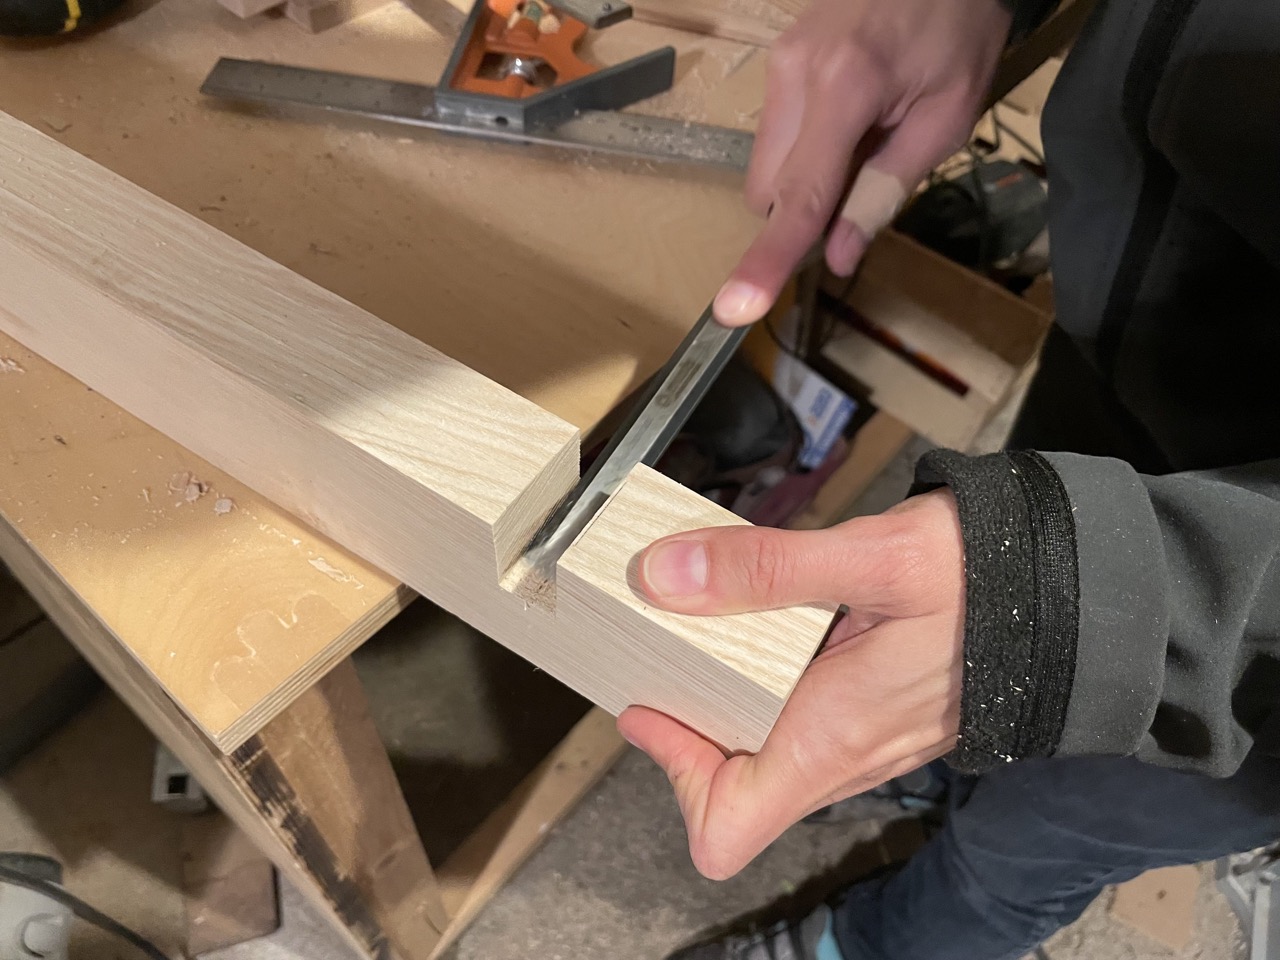
Here Suzanne is finishing the mortises for the extensions that we plan to build.
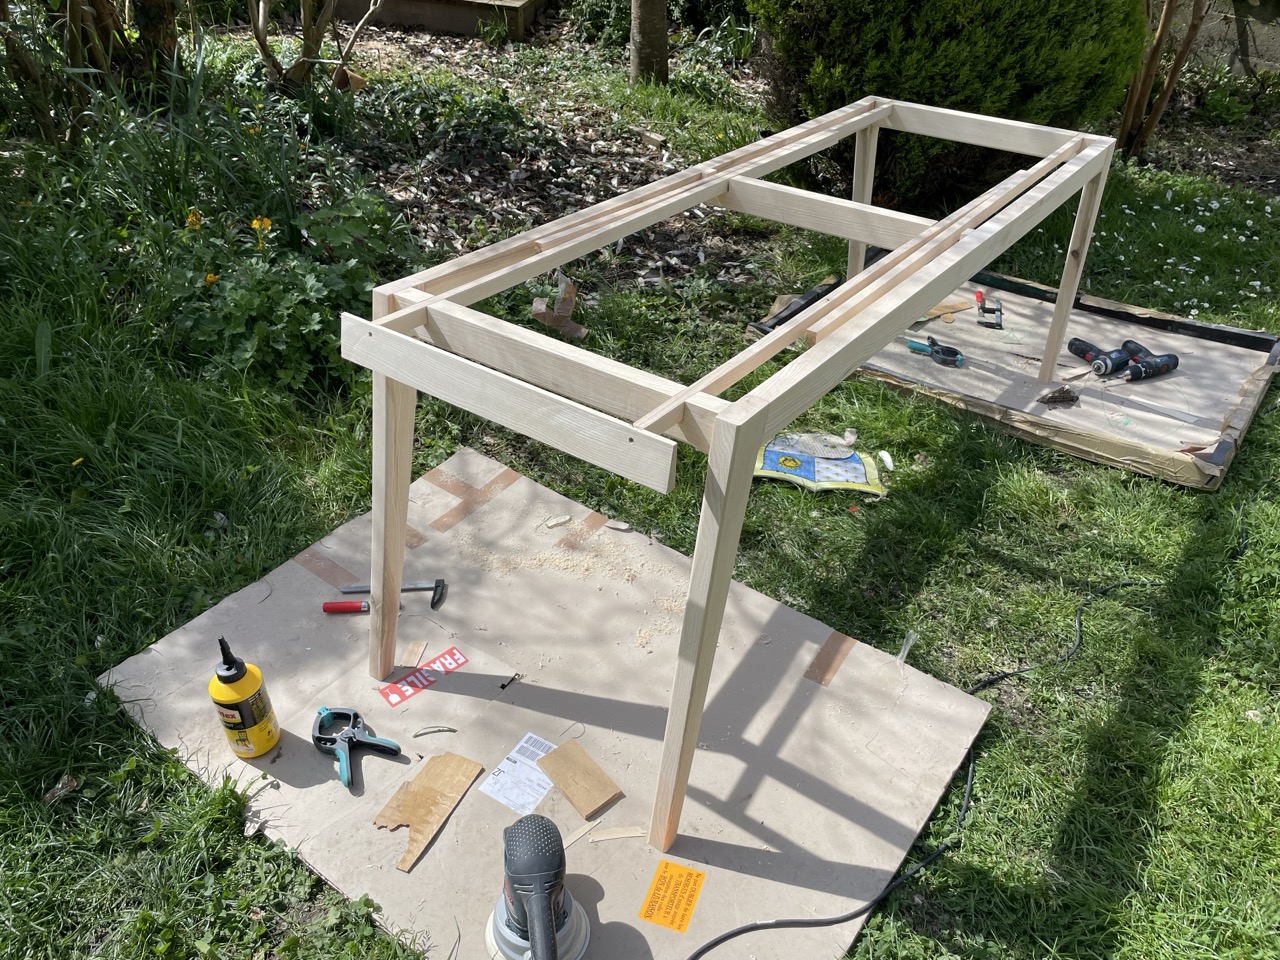
Before glueing everything together, we did a dry fit upside down to check the dimensions and ended up reducing the width and length by about 10 cm.
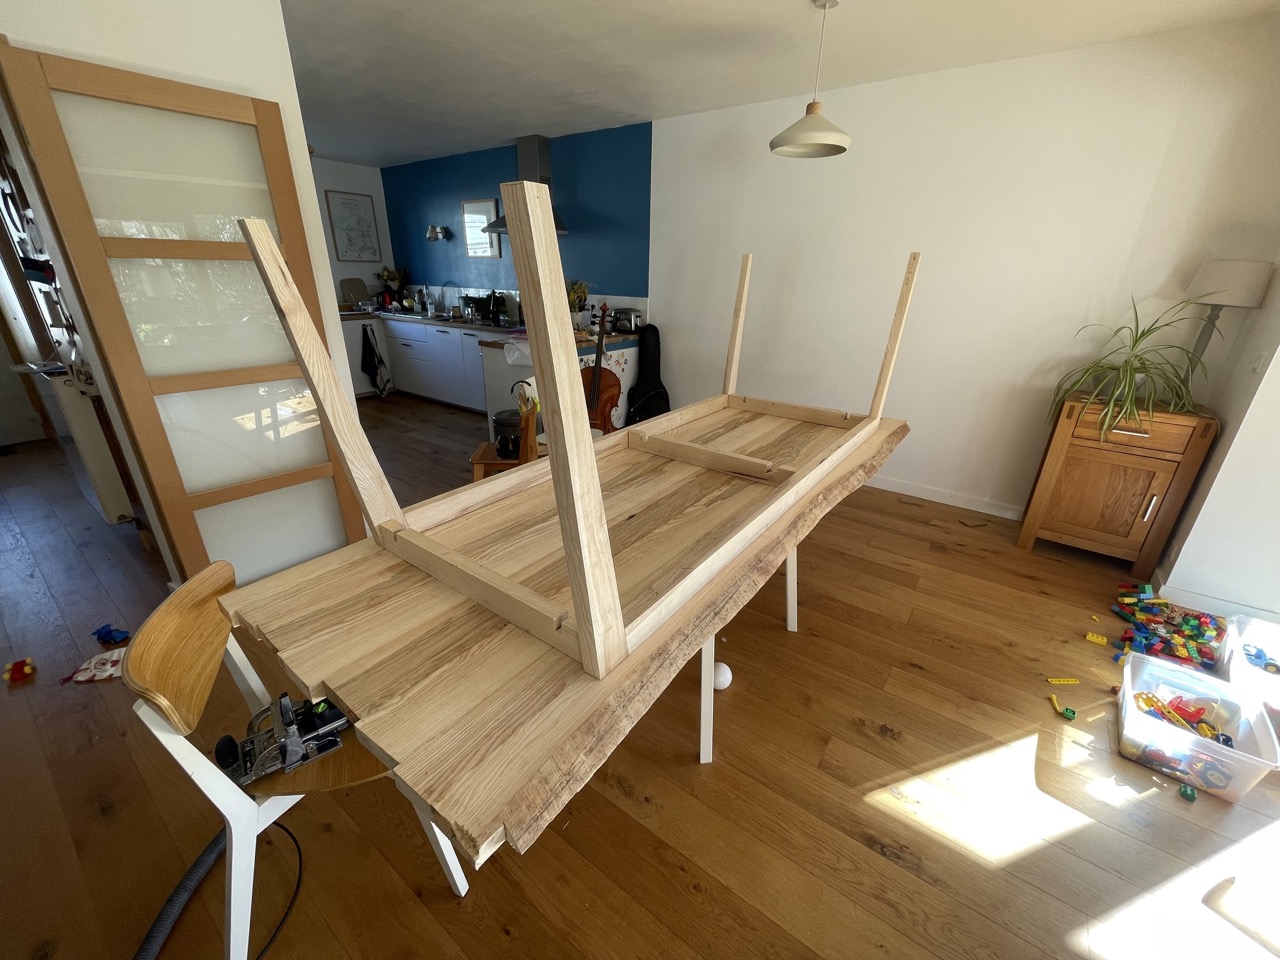
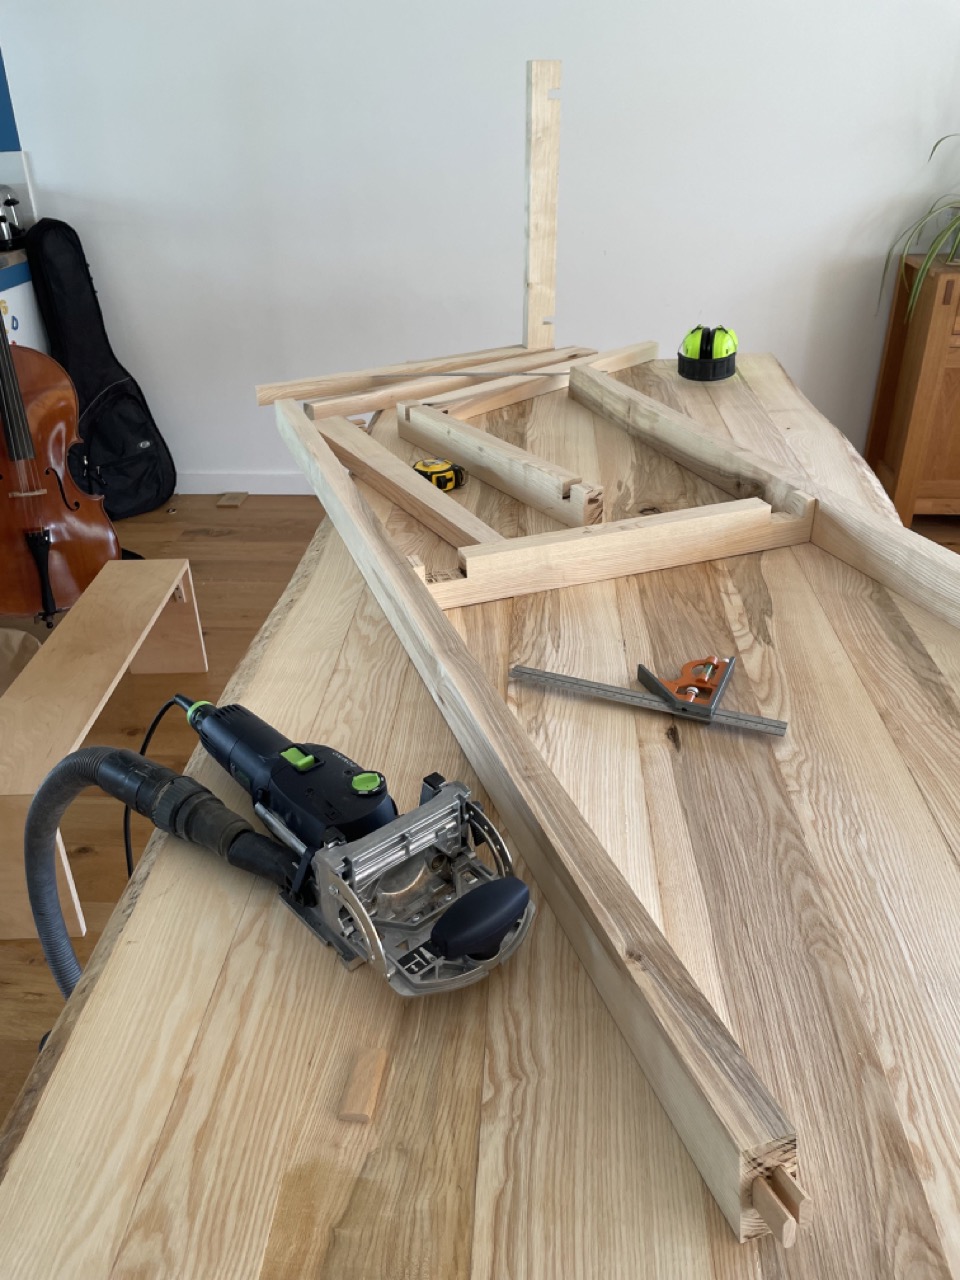
Finally it stands! Not glued yet though, and we're starting to doubt that these legs will be robust enough for the weight of the tabletop.
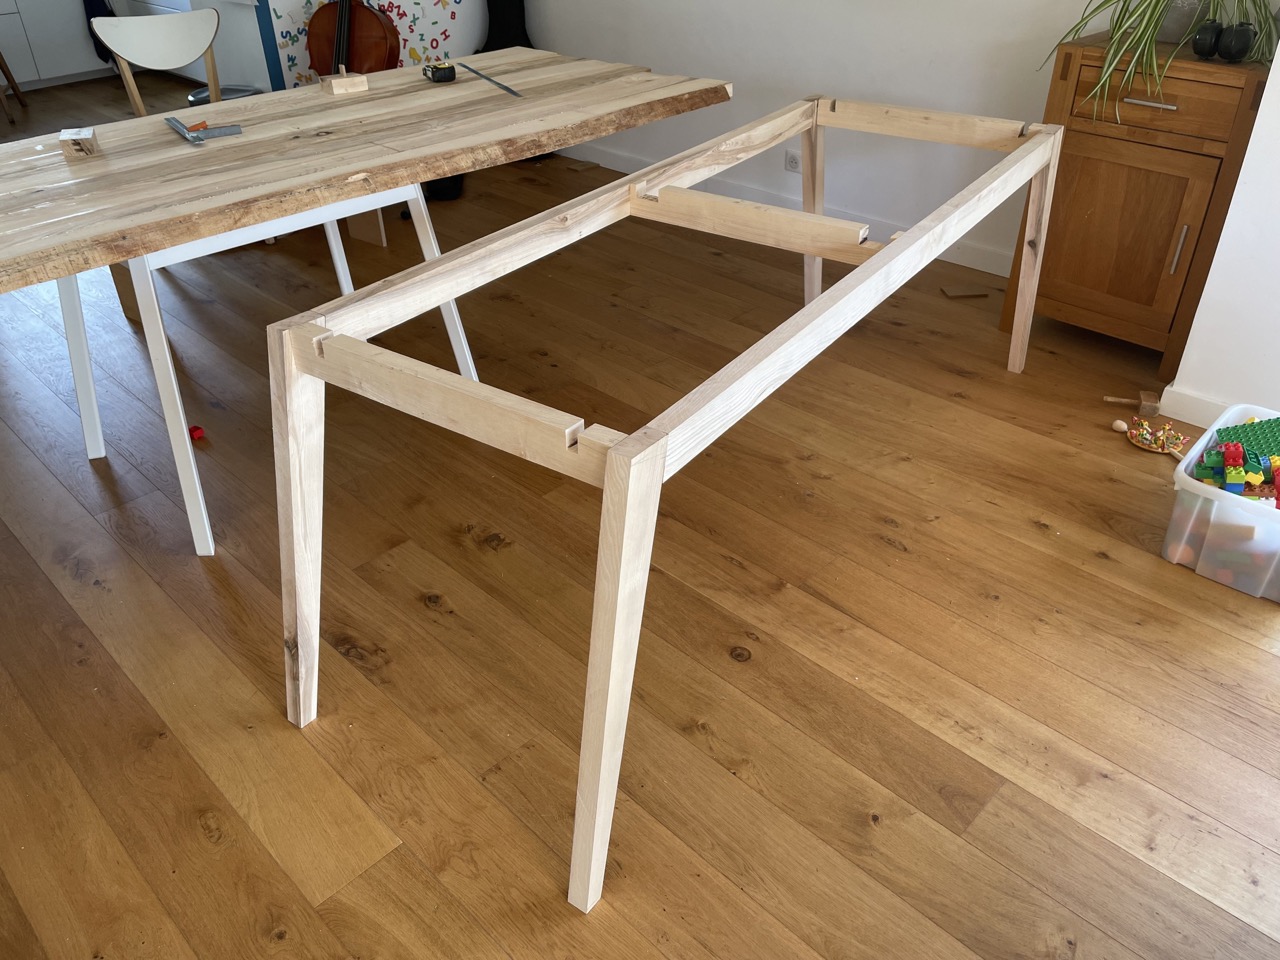
Now we glue the legs on the long side...
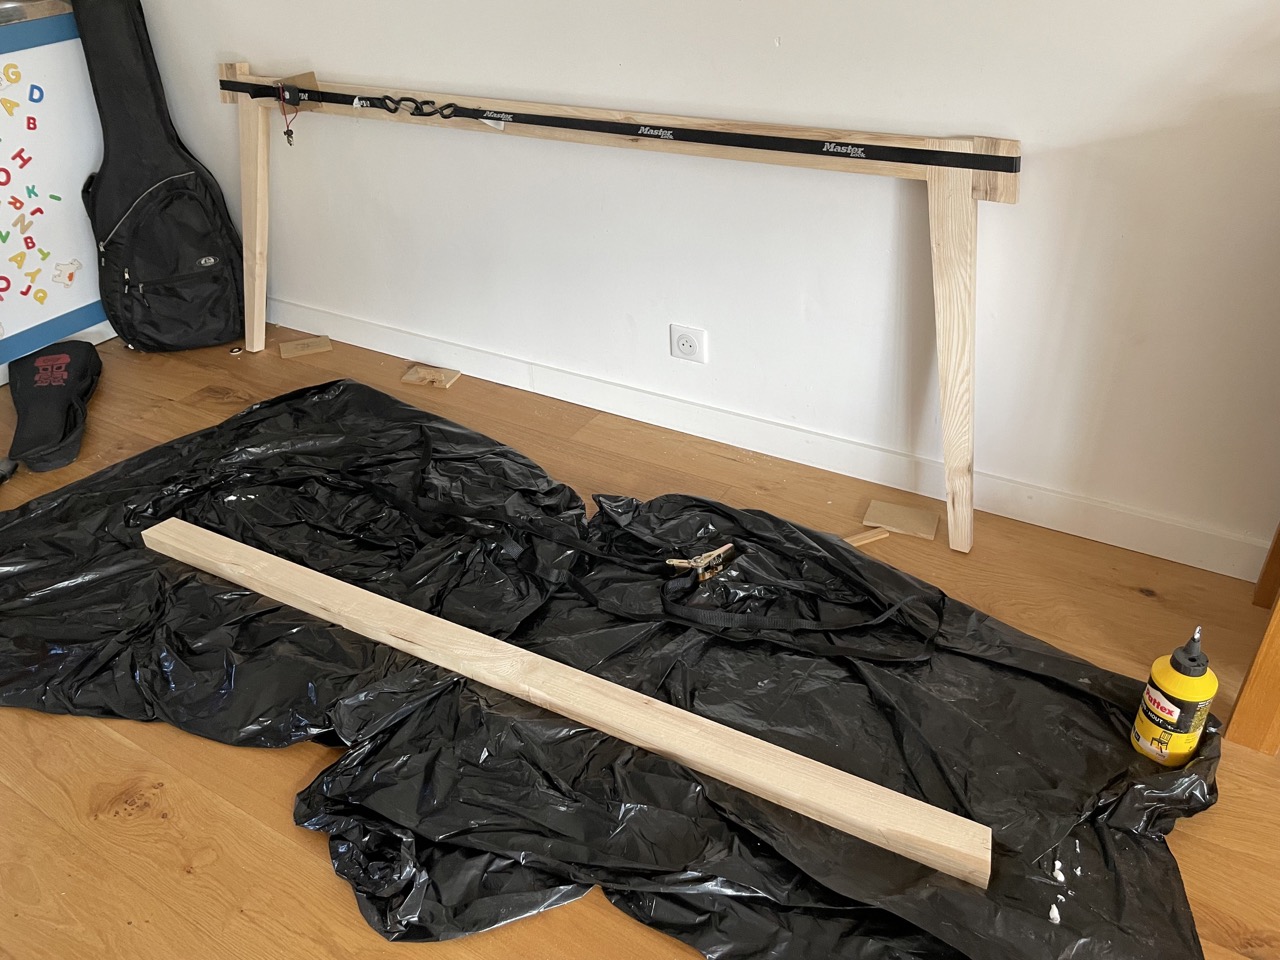
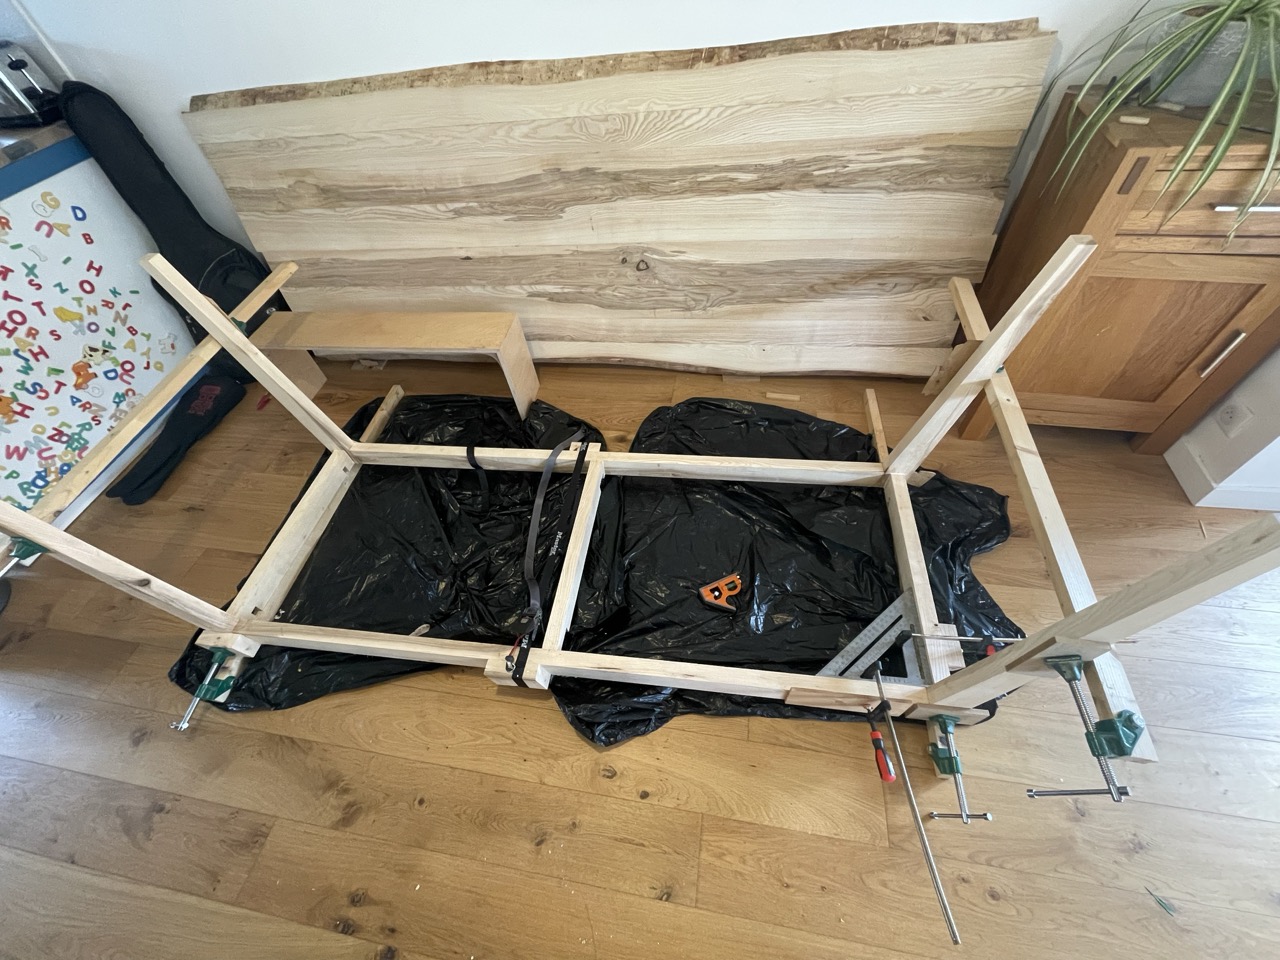
After the glue up, we rounded the edges, sanded the legs and finished the sliding extension mechanism.
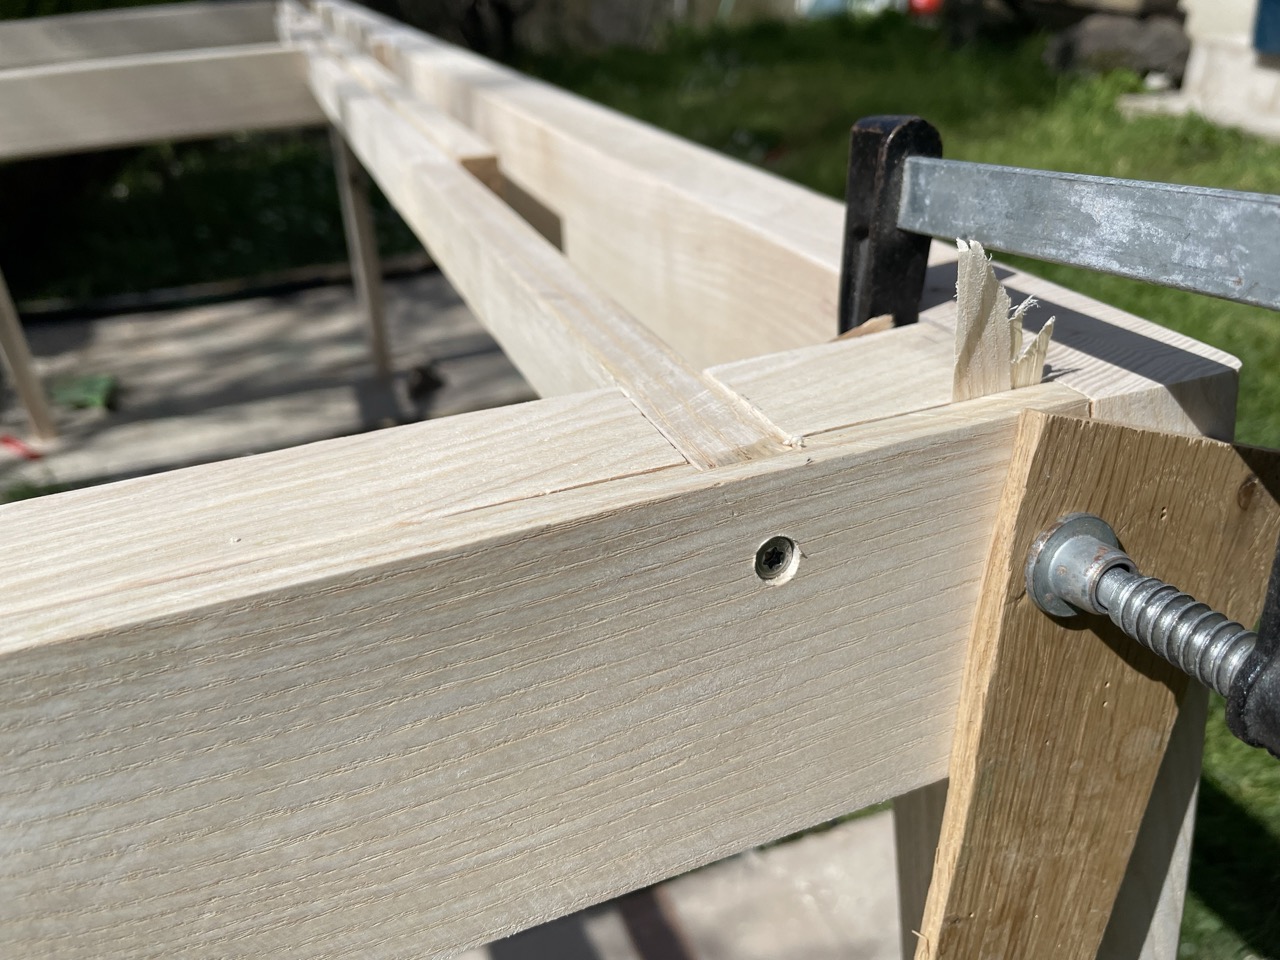
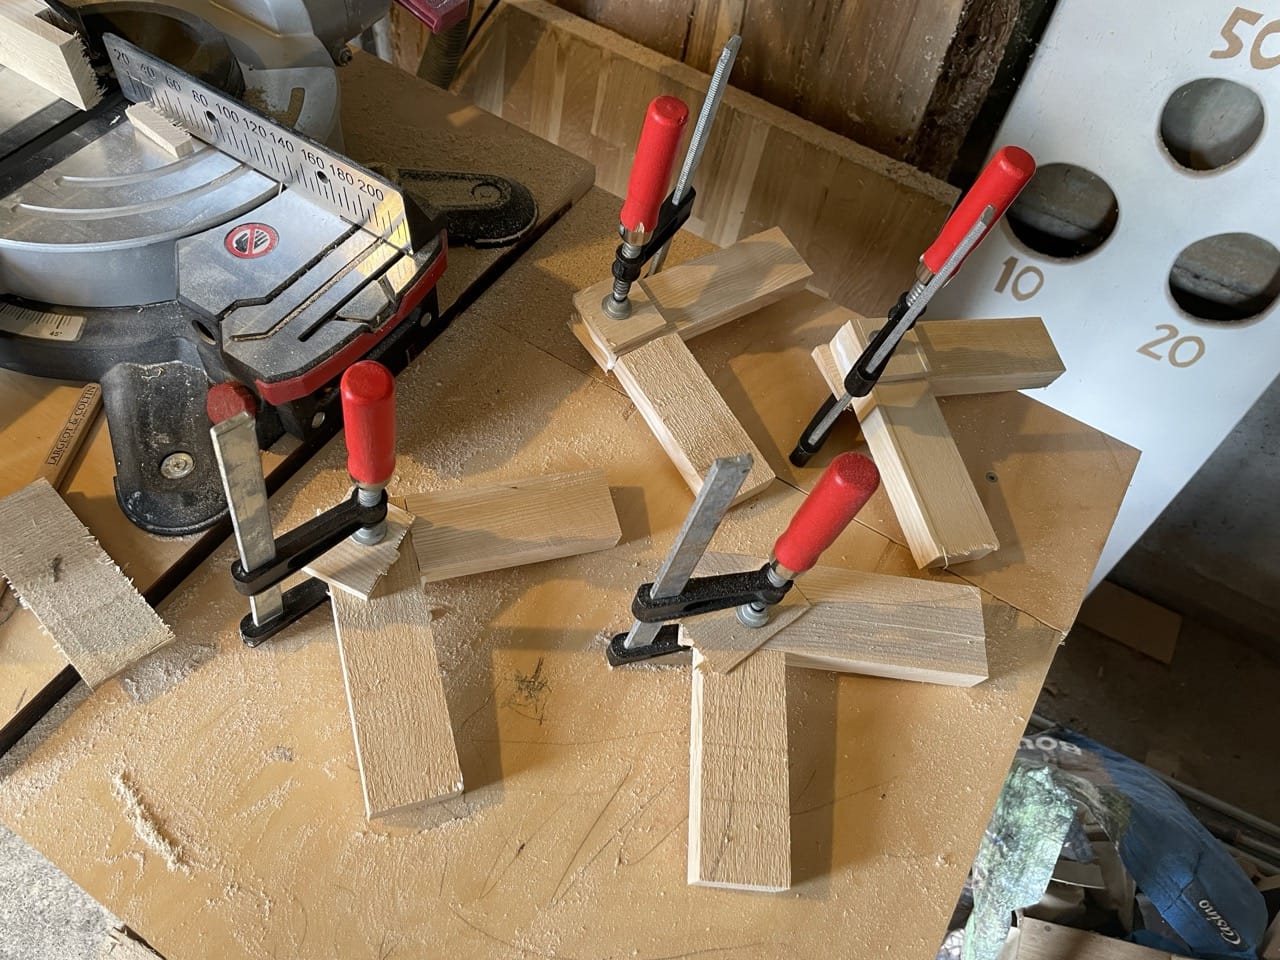
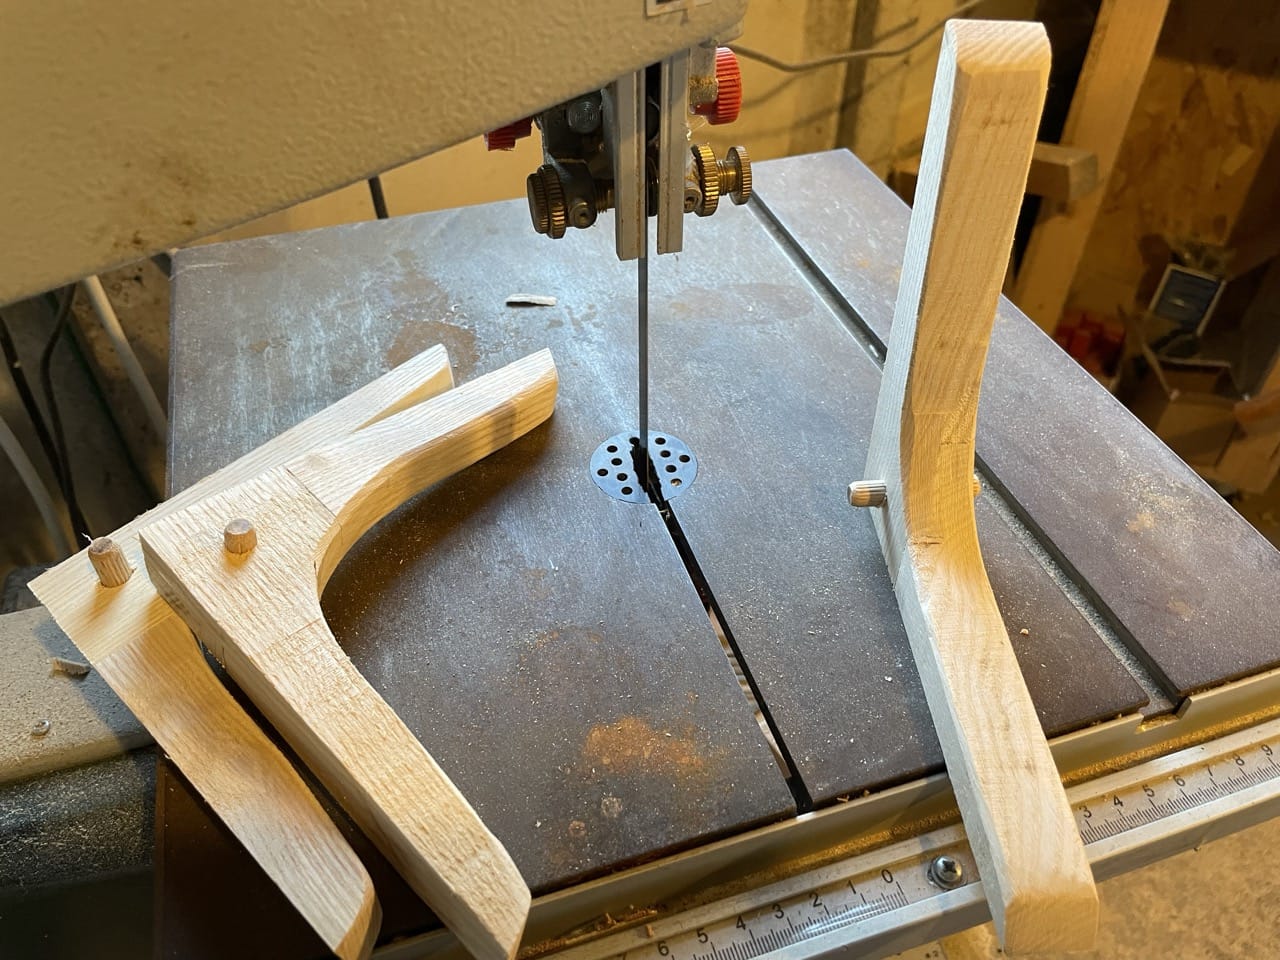
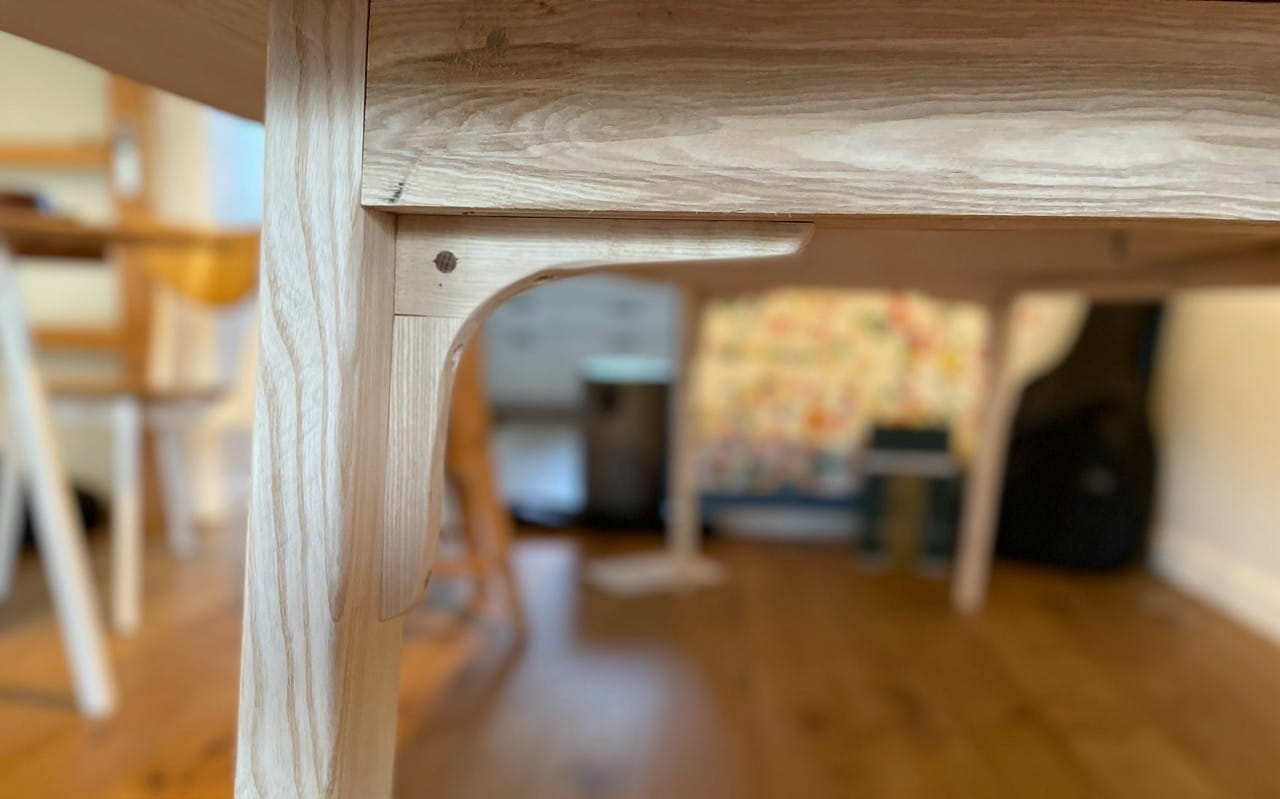
With a tabletop this thick, the table felt a bit wobbly. We decided to add wooden squares on each leg to try to improve stiffness.
Finish
Every aspiring woodworker knows that sanding is 90% of the work! My amazingly patient wife did most of the work here so I can't take credit for this part. Unfortunately it isn't a very interesting subject to photograph...
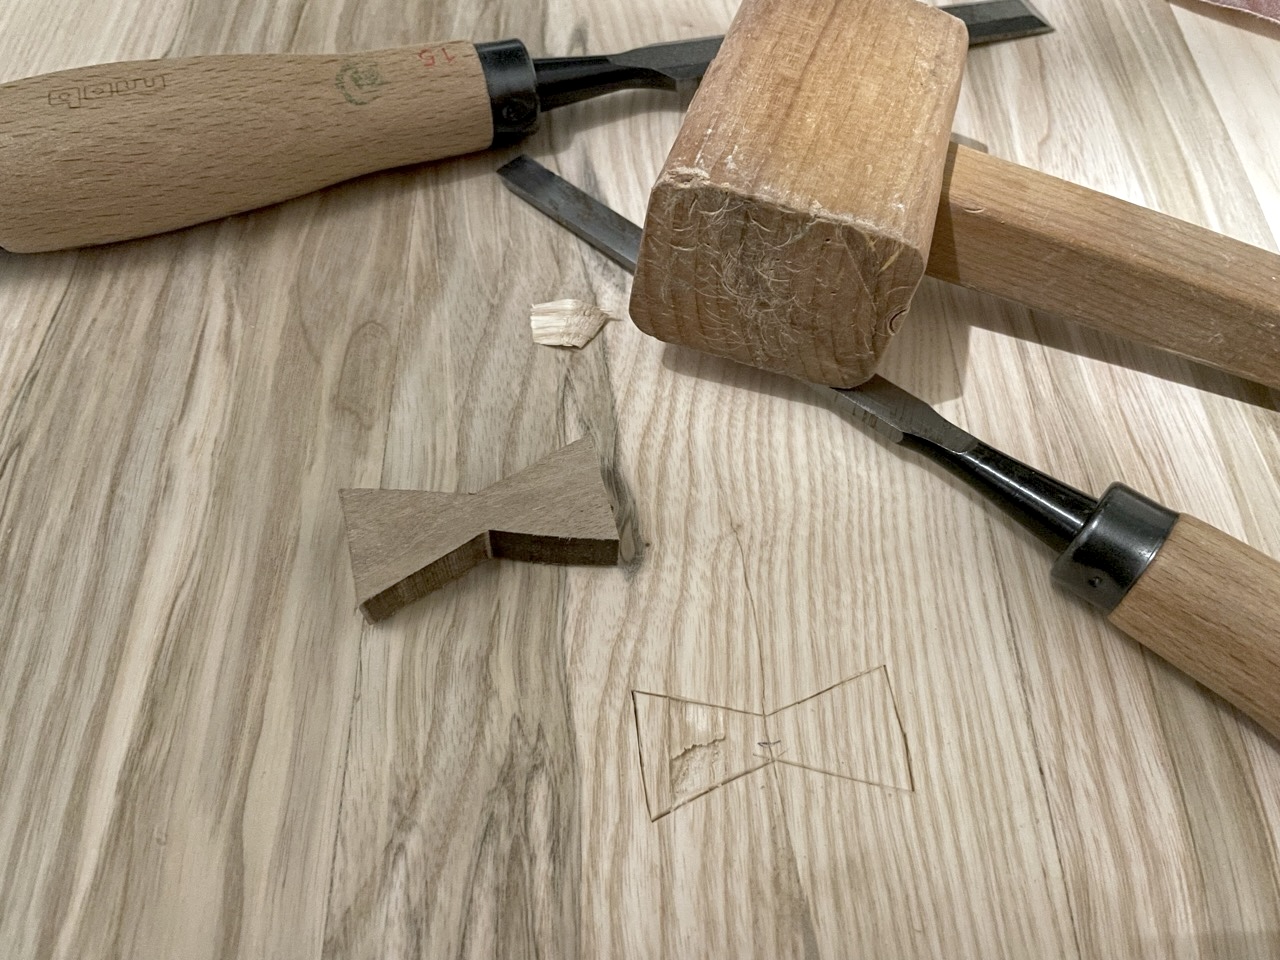
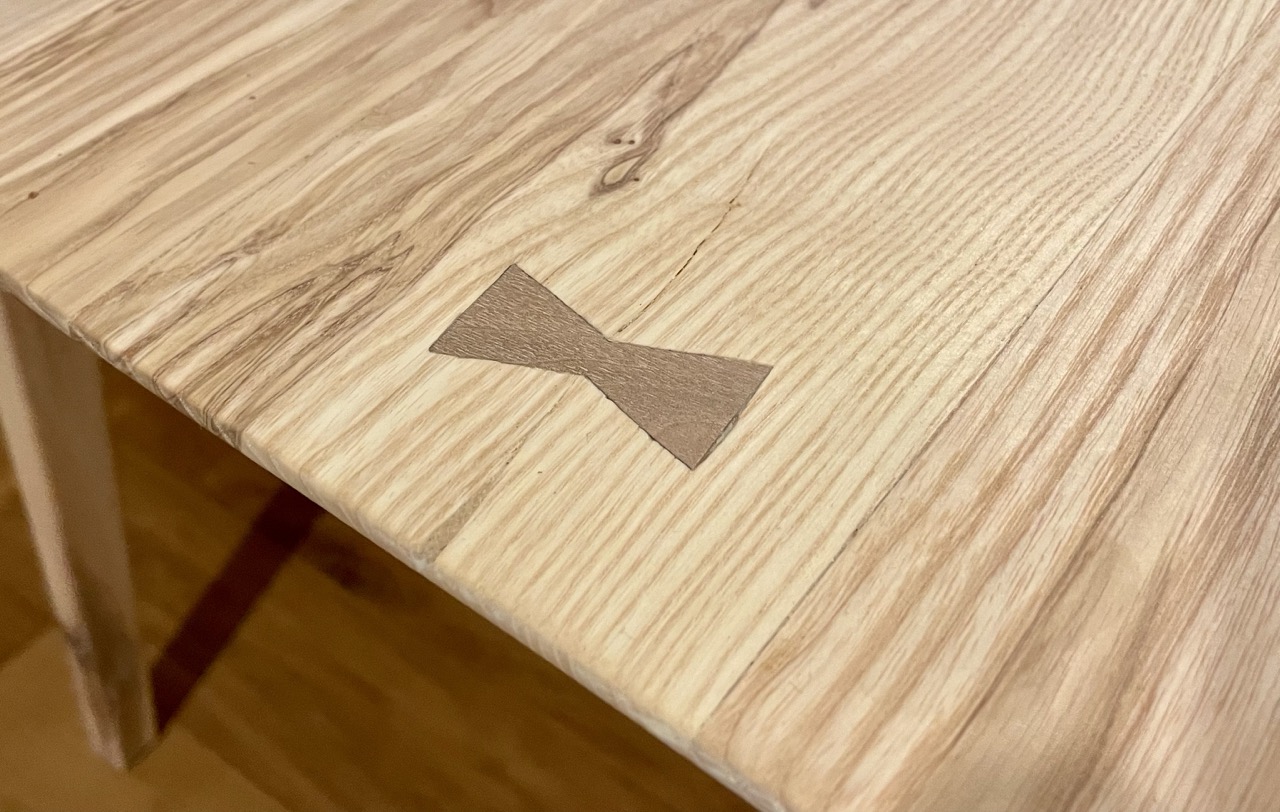
Unlike repairing a crack in the wood with a bow tie!
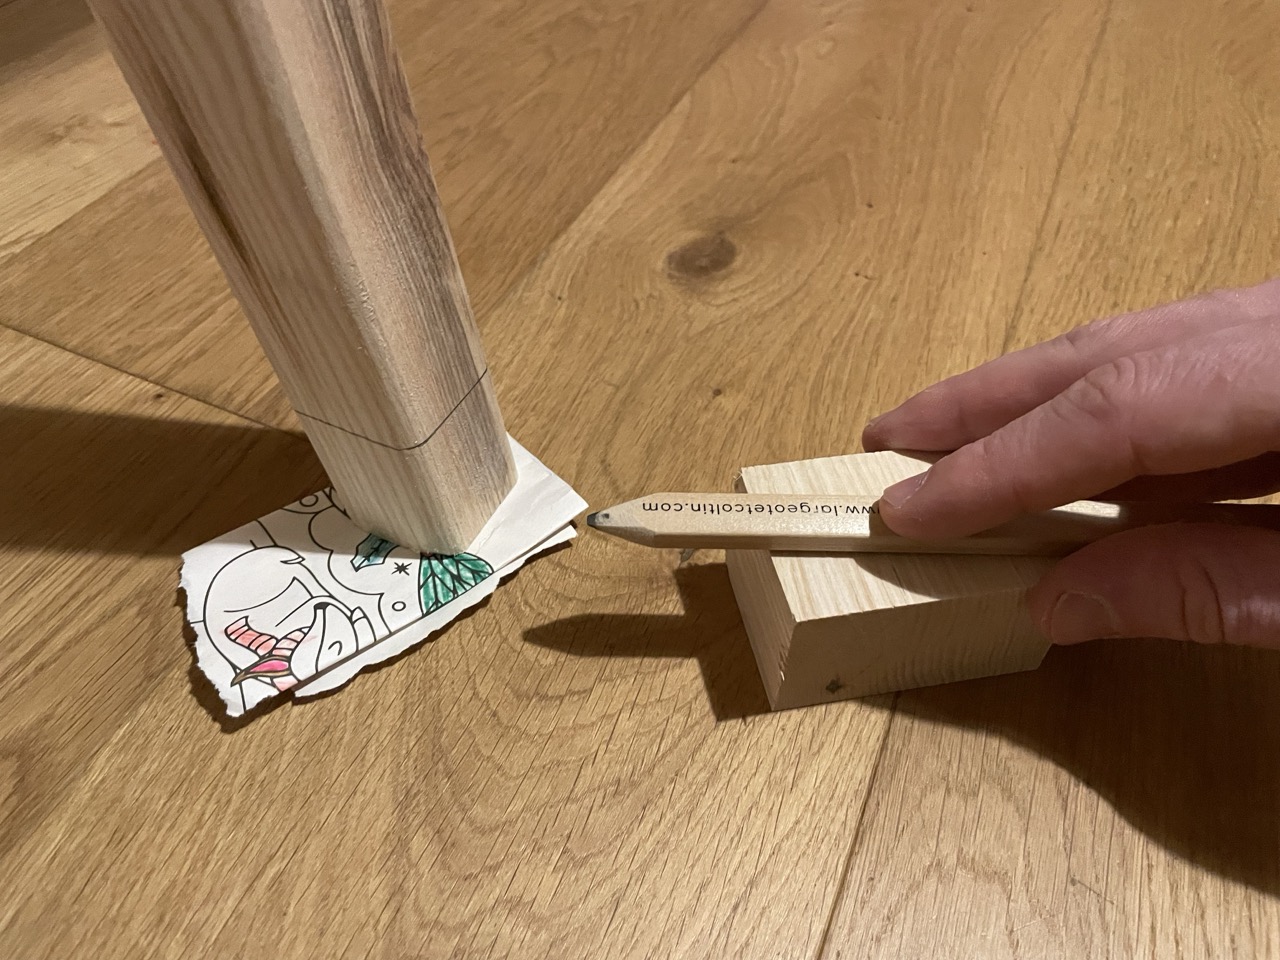
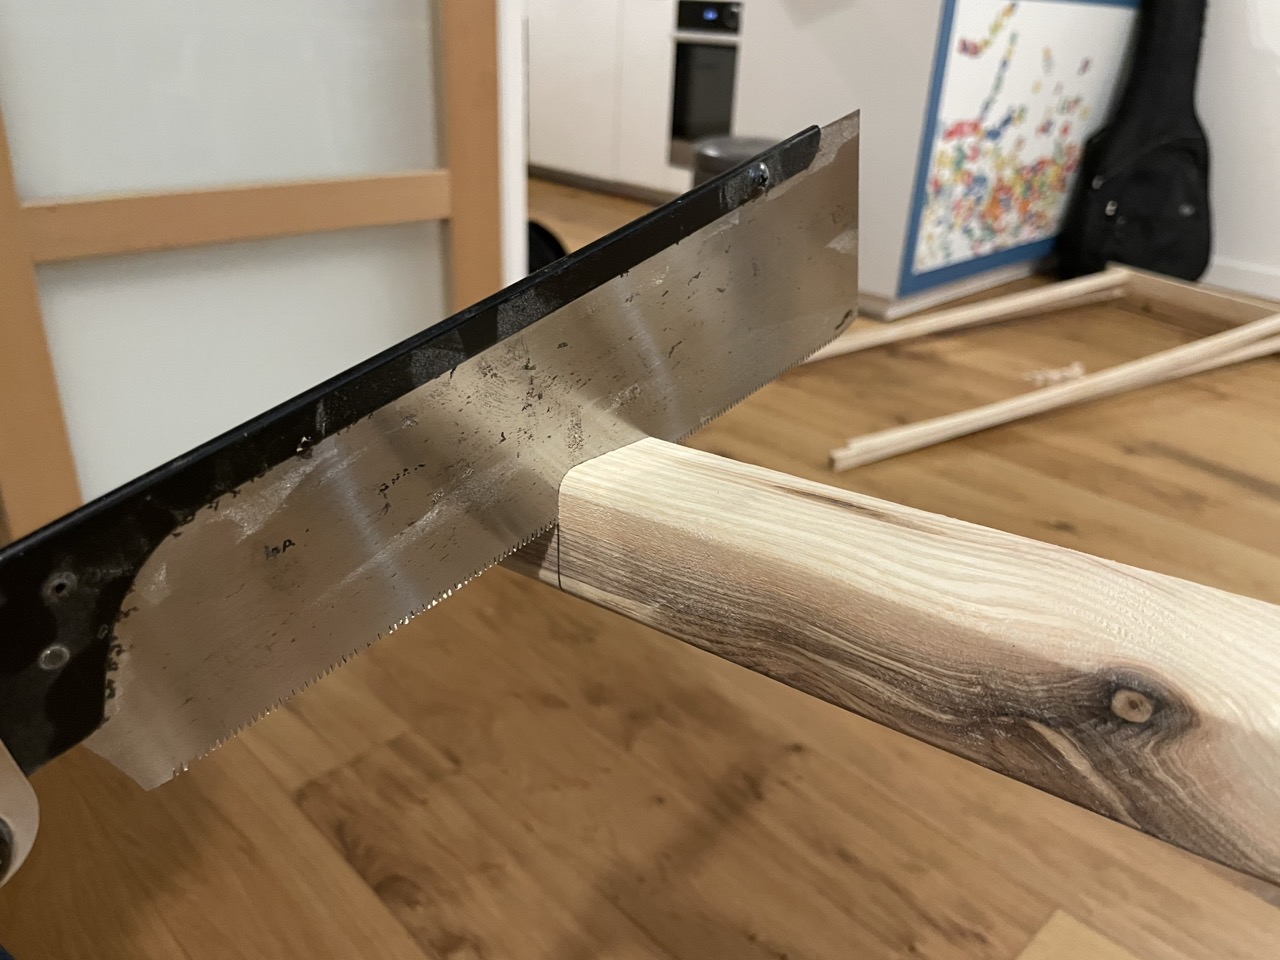
The final cuts are made to cut the legs to length. First we make sure the table top is level, and then use a wooden block and a pencil to mark the same height on each leg. This way you get a perfectly level table by cutting precisely on the line.
We finished it with some Rubio tannin primer + monocoat oil plus 2c + universal maintenance oil, we'll see if it survives our 3 kids' repeated attacks!
